

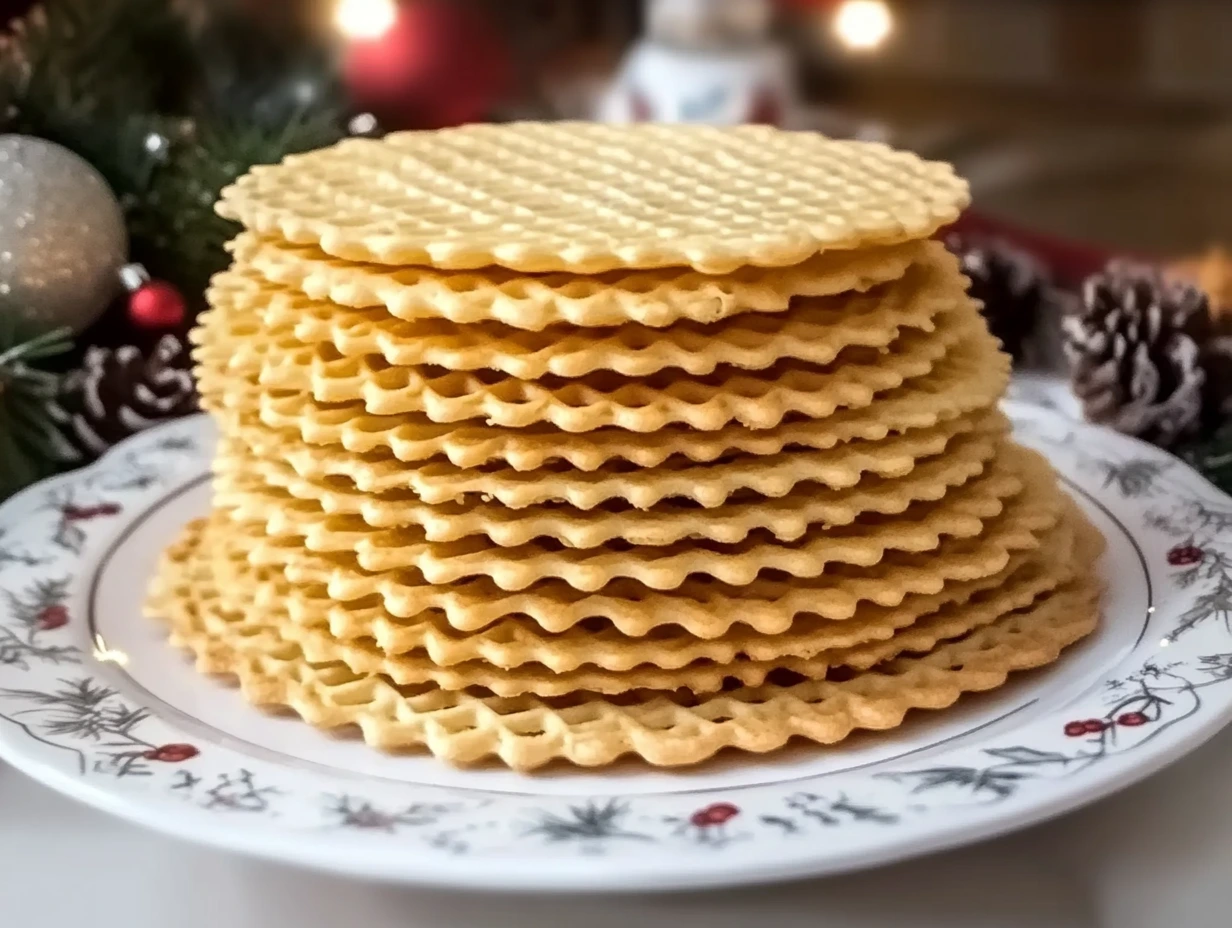
Pizzelle are one of those timeless Italian desserts that always seem to impress. Their delicate, crisp texture and sweet flavor make them perfect for any occasion, from family gatherings to holiday celebrations. Plus, they come with endless possibilities for customization. Whether you’re enjoying them plain or shaping them into fun forms like cones or bowls for ice cream, pizzelle are guaranteed to be a crowd-pleaser.
I remember the first time I tried making pizzelle. It was during the holidays, and I was determined to create an authentic treat that my family would love. I had always been fascinated by the delicate, lace-like pattern of these cookies, and the idea of making them from scratch felt like a little culinary adventure. After a few tries, I finally perfected this classic recipe, and let me tell you—it was worth every second. The first bite of that crispy, sweet pizzelle was magical, and I couldn’t wait to share them with everyone.
Now, it’s your turn to bring this delicious tradition into your kitchen. Let’s dive into how you can make your very own batch of crispy, melt-in-your-mouth pizzelle!
What You’ll Need: The Ingredients
Before you start, gather all your ingredients. Luckily, these are common pantry items, so you likely already have everything you need to make pizzelle at home!
-
3 large eggs
-
3/4 cup granulated sugar
-
1/2 cup unsalted butter (melted and cooled)
-
1 teaspoon vanilla extract (or you can opt for almond, anise, or lemon extract for a fun twist)
-
1 3/4 cups all-purpose flour
-
2 teaspoons baking powder
-
1/4 teaspoon salt
These simple ingredients come together to create a beautifully crisp and light dough. But the secret lies in the process, so let’s get started!
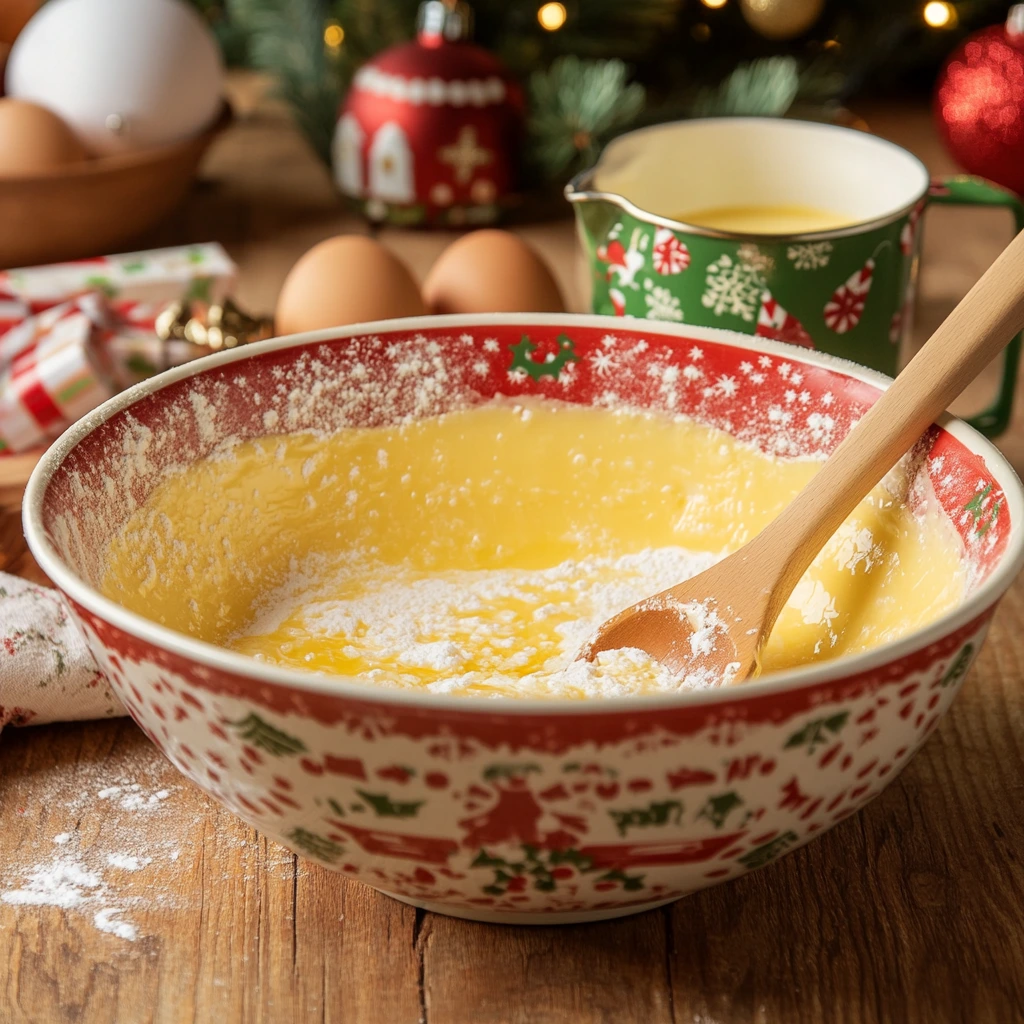
Step 1: Prepare the Batter
The first step in making pizzelle is preparing the batter, which is incredibly simple and requires just a few minutes of your time. Start by whisking together your eggs and granulated sugar in a large mixing bowl. You’ll want the mixture to become smooth and slightly frothy. This is where the magic happens! The eggs and sugar combine to give the pizzelle their structure and sweetness.
Next, gradually add in your melted butter and vanilla extract (or any other flavor extract you prefer). If you want to try something a bit different, anise or almond extract can give your pizzelle a wonderful depth of flavor. Just a little goes a long way!
Once the butter and extract are fully mixed in, your batter should start to take on a smooth and creamy consistency. It’s important that the butter has cooled before you add it to the eggs and sugar—this prevents the eggs from cooking prematurely.
Step 2: Mix Dry Ingredients
In a separate bowl, whisk together your dry ingredients: the all-purpose flour, baking powder, and salt. These ingredients are essential for the texture of the pizzelle. The flour provides the base, while the baking powder helps to give the cookies a little puff, making them light and crispy. The salt brings everything together, balancing out the sweetness.
Now, gradually fold the dry ingredients into your wet mixture. I recommend adding the flour mixture in parts so it’s easier to combine and prevents clumping. Stir gently until you have a smooth batter—thick but still spoonable. It should have a consistency similar to pancake batter, but a little thicker. If your batter feels too runny, don’t worry! It’ll thicken up as it rests a bit.
Step 3: Preheat the Pizzelle Iron
Now that your batter is ready, it’s time to prepare your pizzelle iron. If you don’t have one yet, no worries—pizzelle irons are easy to find, and you can get a great one for a reasonable price. Preheat the iron according to the manufacturer’s instructions. If your iron requires it, you may want to lightly grease the plates to ensure the pizzelle don’t stick. Keep in mind that the iron needs to be hot before you start cooking—this will give your pizzelle that beautiful golden-brown color and crisp texture.
Step 4: Cook the Pizzelle
Once the iron is ready, it’s time to start cooking! For each pizzelle, drop about 1 tablespoon of batter onto the center of each pizzelle plate. The amount of batter you use depends on the size of your iron, but 1 tablespoon should be just right for most models.
Close the iron gently and let the pizzelle cook for 30 to 60 seconds, depending on your iron and how crispy you like them. The key is to keep an eye on them as they cook. The smell of vanilla (or whatever flavor extract you’ve chosen) will start to fill the air, and the pizzelle will begin to turn golden brown. You can open the iron a little early to check on them, but be careful not to let them overcook.
Once your pizzelle are golden and crisp, carefully remove them from the iron with a spatula. They will be soft right out of the iron, but they harden as they cool, so don’t worry if they seem a little delicate at first.
Step 5: Cool and Shape
Now comes the fun part: cooling and shaping your pizzelle! Place the cooked pizzelle on a wire rack to cool completely. This is when they get that perfect crispy texture. If you’re in the mood to get a little creative, you can shape the pizzelle while they’re still warm. You can make them into cones for ice cream, bowls for a sweet mousse, or even roll them into fun shapes for a decorative touch.
Be sure to let them cool completely in the shape you’ve chosen. This will allow them to hold their form and stay crisp. If you’re just enjoying them plain, they can cool on the rack, and they’ll be ready to serve in no time.
Tip 1: The Perfect Pizzelle Iron Makes All the Difference
If you’re new to making pizzelle, the type of pizzelle iron you use can make a big difference. Traditional pizzelle irons are usually made of cast iron, which retains heat well and helps produce that crisp texture we all love. Some modern irons come with non-stick surfaces, which can help with clean-up but might not give you quite the same crispiness as their cast iron counterparts.
When choosing an iron, look for one with an adjustable heat setting, so you can control how dark or light your pizzelle turn out. Some irons also offer interchangeable plates for making different shapes, such as hearts or flowers, which can be fun for special occasions like Valentine’s Day or weddings.
A quick note: If your pizzelle iron has a light to indicate when it’s ready, make sure to wait until it signals that it’s preheated before adding any batter. An iron that’s too cool will result in soggy pizzelle, so patience is key!
Tip 2: Don’t Overcrowd the Iron
It’s tempting to add too much batter to the pizzelle iron, especially if you’re in a rush to get more cookies done. But here’s the thing—adding too much batter can lead to messy overflow and uneven cooking. Stick with about 1 tablespoon of batter per pizzelle, as this will allow the iron to close properly and cook the batter evenly.
If you’re unsure, always start with a small amount of batter. You can always add more the next time if needed. And keep an eye on the pizzelle as they cook—each iron cooks a little differently, so the first batch is your chance to gauge how much batter and cooking time works best for your machine.
Tip 3: Play with Flavors
One of the best things about pizzelle is how versatile they are. You can create so many different flavors by simply switching up the extract you use. While vanilla is the classic choice, there are so many other options to consider!
-
Almond Extract: This one adds a warm, nutty flavor that pairs wonderfully with the crispy texture of the pizzelle.
-
Anise Extract: If you love a slightly licorice-like flavor, anise is a great option. It’s a traditional flavor for pizzelle and is often used in Italian recipes.
-
Lemon Extract: For a fresh and zesty twist, lemon extract can give your pizzelle a bright citrusy note that’s perfect for spring and summer gatherings.
-
Cinnamon or Nutmeg: Adding a touch of ground cinnamon or nutmeg to the batter can bring in a comforting, warm spice that’s especially great for holiday seasons.
You can experiment with any combination of extracts or even add a little zest from citrus fruits like lemon or orange. Just remember to adjust the quantity depending on the flavor strength of the extract to avoid overpowering the dough.
Tip 4: Try Different Shapes and Uses for Pizzelle
While pizzelle are often enjoyed as crispy cookies, there are so many creative ways to enjoy them. If you’d like to try something a bit more whimsical, why not shape your pizzelle into fun forms while they’re still warm? You can:
-
Make Pizzelle Cones: Place the warm pizzelle around a cone-shaped form (like an ice cream cone) and allow them to cool into the perfect crispy treat for filling with ice cream or whipped cream.
-
Create Pizzelle Bowls: Drape the warm pizzelle over the back of a bowl to form a shallow cup. Once cooled, fill them with fruit, mousse, or even more ice cream for a delightful dessert presentation.
-
Roll Them into Sticks or Logs: As the pizzelle cool, you can roll them into cylinders to create an elegant treat that’s perfect for serving at parties.
The possibilities are endless, and these shapes add a unique touch to the traditional pizzelle. Plus, they’re perfect for serving with a variety of fillings—think cannoli cream, mascarpone, or even just a sprinkle of powdered sugar.
Tip 5: Storing Pizzelle for Freshness
If you’re lucky enough to have leftover pizzelle (which I rarely do!), it’s important to store them correctly to keep them fresh and crispy. Pizzelle can lose their crispiness if stored improperly, so here’s what you should do:
-
Keep them in an airtight container: This is key to preserving their texture. If you leave them out in the open air, they can become soft and lose that delightful crunch.
-
Avoid stacking them too high: If you’re storing a lot of pizzelle, make sure to place parchment paper between layers. This will prevent them from sticking together and help maintain their shape.
For long-term storage, you can also freeze pizzelle. Just make sure they’re completely cooled before you place them in an airtight freezer bag or container. When you’re ready to enjoy them, just pop them in the oven for a few minutes to restore their crispiness.
Tip 6: Don’t Overcook the Pizzelle
As tempting as it might be to leave your pizzelle in the iron a little longer for extra crunch, it’s best not to overcook them. Overcooked pizzelle can turn too hard and lose their delightful texture. Aim for that perfect golden brown shade—once they’ve reached this point, it’s time to remove them from the iron. Each pizzelle iron is different, so a bit of trial and error might be necessary to get the timing just right.
If you find that your pizzelle are turning too dark too quickly, you may need to adjust the temperature on your iron or shorten the cooking time slightly. Remember, pizzelle will continue to harden as they cool, so they’re best when slightly softer than you might expect right out of the iron.
FAQ Section
1. Can I make pizzelle without a pizzelle iron?
While a pizzelle iron is definitely the best tool for the job, you can still make pizzelle-like cookies without one. If you don’t have an iron, you can try using a waffle iron. Just be sure to lightly grease the plates, and cook for a short time (around 30-60 seconds), checking frequently to ensure they don’t burn. They won’t have the same intricate pattern, but they’ll still be delicious! Keep in mind that the texture might be a little different, but you’ll still have a crispy treat to enjoy.
2. Can I use gluten-free flour to make pizzelle?
Yes, you can make gluten-free pizzelle by substituting the all-purpose flour with a gluten-free flour blend. Just make sure you use a blend that includes xanthan gum or guar gum, as this helps give the cookies their structure and texture. The taste and texture may be slightly different, but gluten-free pizzelle can still be crisp and delightful.
3. How do I know when the pizzelle are done cooking?
The best way to tell when your pizzelle are done is by checking the color. They should be a light golden brown, with a crispy texture. If you’re using a new pizzelle iron, I recommend checking the first couple of batches to figure out the exact timing. Typically, 30-60 seconds will give you the right balance of crispiness without burning the pizzelle.
4. Can I make pizzelle dough ahead of time?
Yes, you can make the dough ahead of time and refrigerate it for up to 24 hours. Just make sure to cover the dough tightly with plastic wrap or place it in an airtight container. When you’re ready to cook the pizzelle, give the dough a quick stir to ensure it’s smooth before using it in the iron.
5. How do I store pizzelle?
To keep your pizzelle fresh and crispy, store them in an airtight container. You can stack them with parchment paper between each layer to prevent them from sticking together. If you want to keep them fresh for a longer period, freezing is a great option. Just make sure they are completely cool before placing them in a freezer bag. When you’re ready to enjoy them, simply reheat them in the oven for a few minutes to restore their crisp texture.
6. Can I use a different flavor of extract?
Absolutely! While vanilla is the traditional choice for pizzelle, there are plenty of other extract options that can give your pizzelle a unique flavor. Almond, anise, lemon, and orange are all popular choices, but feel free to get creative! You can also add a bit of citrus zest or ground spices like cinnamon to customize the flavor further.
7. How can I shape pizzelle for serving?
Shaping pizzelle is one of the most fun parts of the process. While they are still warm, you can roll them into cones, drape them over a bowl to form cups, or even twist them into spirals. Once they’ve cooled completely in these shapes, they’ll hold their form and make for an elegant dessert. Shaped pizzelle are perfect for serving with ice cream, whipped cream, or a sweet mousse filling.
Conclusion
Pizzelle are one of those timeless treats that never fail to impress, whether you’re serving them at a holiday party, enjoying them with a cup of coffee, or using them to create stunning desserts. The crispy, delicate texture and the ability to personalize the flavor make them a favorite in many homes. While they take a bit of practice, especially when it comes to timing and shaping, the effort is always worth it.
Now that you have the complete guide, from making the batter to mastering tips and tricks, you’re ready to make your very own batch of homemade pizzelle. Don’t be afraid to experiment with different flavors or shapes—you’ll be amazed at how versatile this classic Italian cookie can be. I’d love to hear how your pizzelle turn out, and feel free to share any creative twists you’ve tried.
So, what are you waiting for? Grab that pizzelle iron, fire it up, and enjoy creating this deliciously crisp treat with family and friends. Happy baking!
